Configurar una integración de aplicación cliente
Prerrequisitos
- Licencia Genesys Cloud CX 1 Digital Add-on II, Genesys Cloud CX 2 Digital o Genesys Cloud CX 3 Digital
- Licencia (s) para la aplicación que desea integrar. Comuníquese con su representante de ventas de Genesys Cloud para obtener más detalles.
- Se requiere un nivel de suscripción mínimo de Genesys Cloud CX 1.
- Integraciones > Integración > Todos permiso (incluido en el Administrador maestro papel)
Nota: Después de comprar las licencias adecuadas para la aplicación, su representante de ventas de Genesys Cloud se asegurará de que su organización esté lista para ejecutarla.
Para configurar la integración, siga estos pasos:
- Hacer clic Administración.
- Debajo Integraciones, haga clic en Integraciones.
- Haga clic en Menú > TI e integraciones > Integraciones.
- Haga clic en Añadir integración.
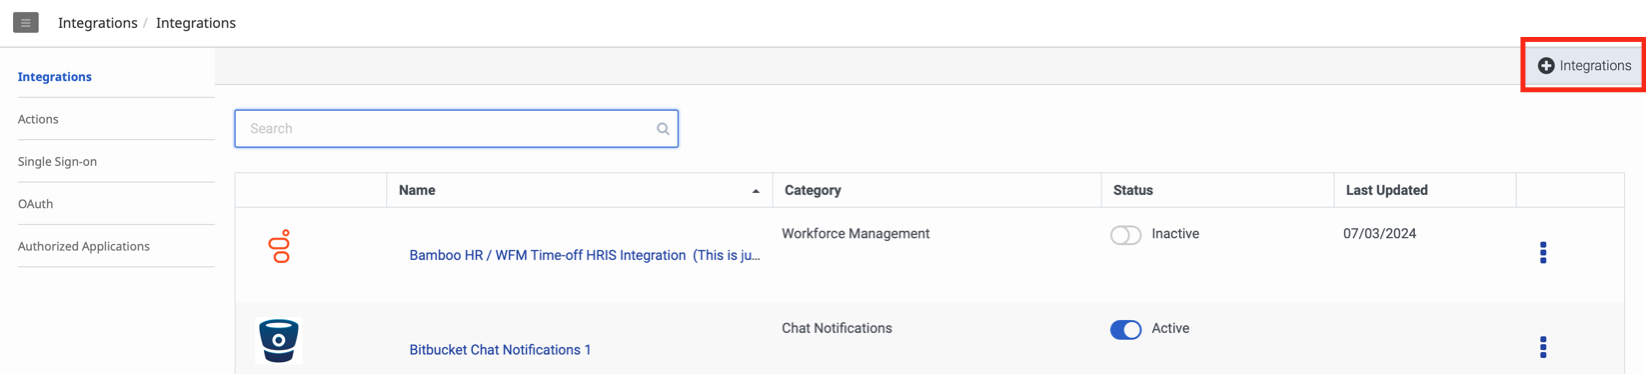 Nota: Si no ha configurado integraciones para su organización, el Agregar nueva integración en su lugar aparece la opción.
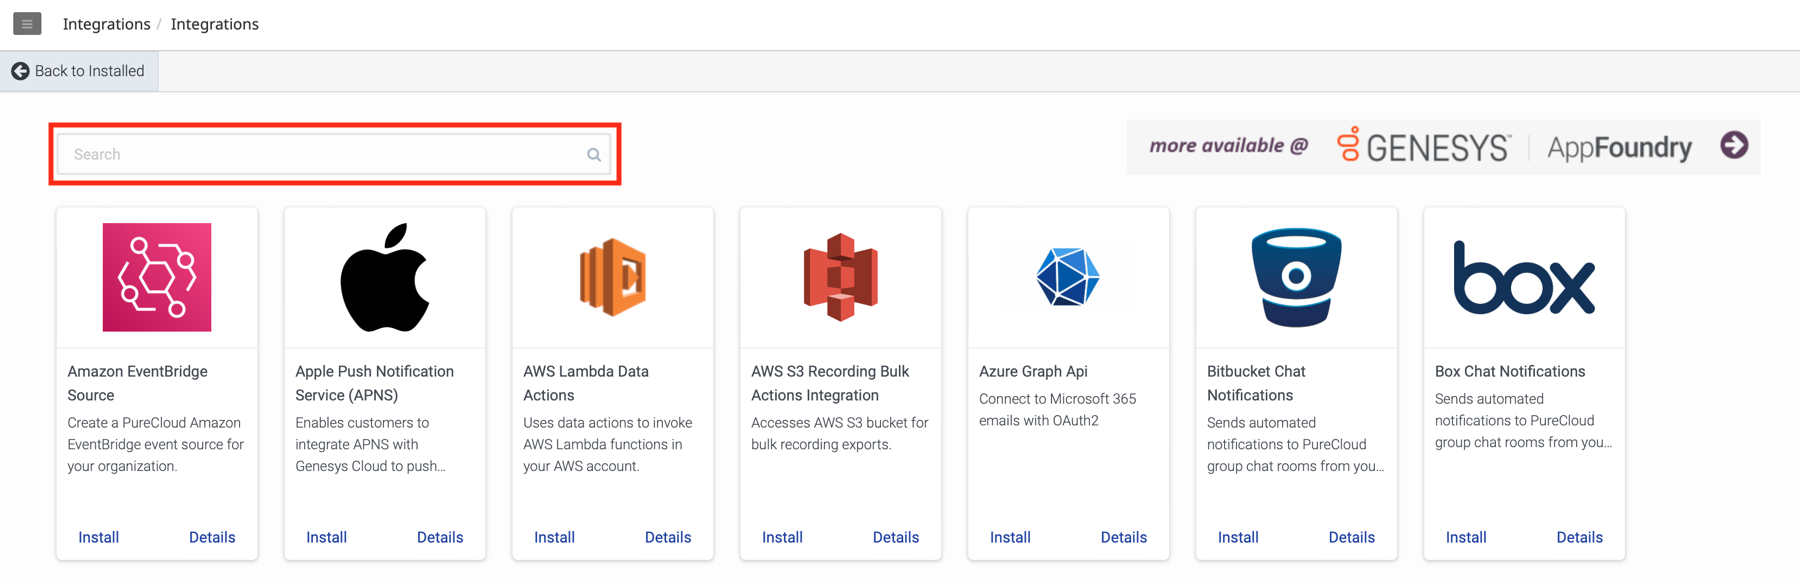
 - Las aplicaciones disponibles aparecen como mosaicos. También puede utilizar el cuadro Search para escribir el nombre de la aplicación. Haga clic en la imagen para ampliarla.
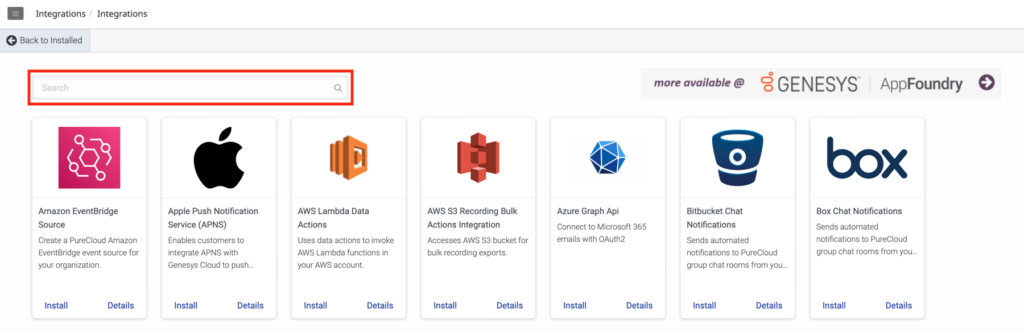
- Para instalar la aplicación, selecciónela y haga clic en Instalar.
- Aparece la página Integración de la aplicación de selección. La pestaña Detalles está seleccionada por defecto. Cada aplicación muestra opciones y campos diferentes. Para más información, consulte Crear una nueva aplicación.
- Haga clic en la pestaña Configuration y actualice los campos en consecuencia.
- Haga clic en la pestaña Support para ver los enlaces de ayuda adicional.
- Cuando haya terminado con los cambios, haga clic en Guardar.
- Vuelva a la pestaña Detalles. En la esquina superior derecha de la pestaña Detalles, haga clic en el conmutador Inactivo.
- Aparece el cuadro de diálogo Change Status. Haga clic en Sí para convertir la aplicación en Activa (utilizable por las personas que tienen permiso para acceder a ella).
- Para desinstalar la integración, en la esquina inferior derecha de la pestaña Detalles, haga clic en el enlace Desinstalar integración.
- Para ver los detalles de la solicitud, selecciónela y haga clic en Detalles.
-