
Reinstalar una solución de hardware Genesys Edge Mini v1 o Edge Micro v1
Prerrequisitos
- Telefonía > Enchufar > Todos permiso
- Unidad flash USB de 32 GB o más
Si tiene problemas con su Genesys Hardware Solution (GHS) Edge Mini v1 o Edge Micro v1 y desea empezar de nuevo con una instalación nueva, puede hacerlo siguiendo el procedimiento descrito en este artículo. Este procedimiento utiliza una imagen de instalación creada para Customer Hardware Solution (CHS) Edges. Sin embargo, puede utilizar este mismo procedimiento e imagen de instalación para reinstalar una solución de hardware Genesys Edge Mini v1 o Edge Micro v1.
Desemparejar el borde
Lo primero que tendrá que hacer es desemparejar el borde de Genesys Cloud. Para obtener más información, consulte Eliminar un BYOC Premises Edge de Genesys Cloud.
Obtener la contraseña de la BIOS
Como parte de este procedimiento, tendrás que acceder a la BIOS del Edge y reconfigurar el orden de arranque del Edge Mini v1 o Edge Micro v1. Para ello, debe ponerse en contacto con el servicio de asistencia técnica y solicitar la contraseña de la BIOS. Para obtener más información, consulte Genesys Cloud Product Support.
Reconfigurar la BIOS
- Conecta un monitor y un teclado al borde.
- Conecta la alimentación.
- Cuando aparezca la ventana de la consola, pulse Borrar para acceder a la BIOS.
- Introduzca la contraseña de la BIOS que recibió del servicio de asistencia técnica.
- Cuando aparezca la pantalla de la Utilidad de Configuración, seleccione la pestaña Boot.
- Configure UEFI Boot a Enabled.
- En Boot Option Priorities, seleccione Boot Option #1.
- Cuando aparezca la pestaña Boot, selecciona tu unidad flash USB como Boot Option #1.
- Seleccione F4: Guardar y salir.
Descarga el instalador
Genesys proporciona un instalador para configurar una Solución de Hardware de Cliente Edge. Sin embargo, puede utilizar este mismo instalador para reinstalar una Solución de Hardware Genesys - Edge Mini v1 o Edge Micro v1.
- Descargar el BYOC Premises: archivo de imagen del instalador de la solución de hardware del cliente.
- Tome nota de la ubicación de la descarga. Ejecutará el instalador en una fase posterior del proceso.
Comience el procedimiento de aprovisionamiento
En la primera etapa del procedimiento, se inicia el aprovisionamiento del borde desde la interfaz de usuario de Genesys Cloud. Durante esta fase, se le proporciona un pasador de dispositivo que necesitará en una fase posterior del procedimiento.
- Desde una computadora cliente de Genesys Cloud en su red, inicie sesión en Genesys Cloud.
- Hacer clic Administración.
- En Telefonía, haga clic en Bordes.
- Haga clic en Menú > Canales > Telefonía > Bordes.
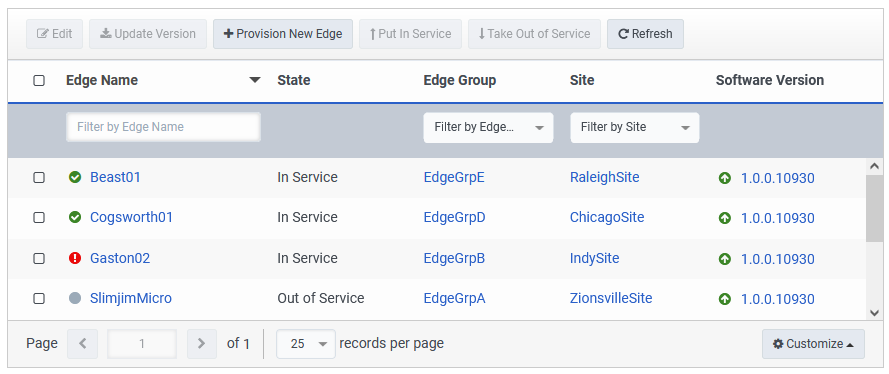
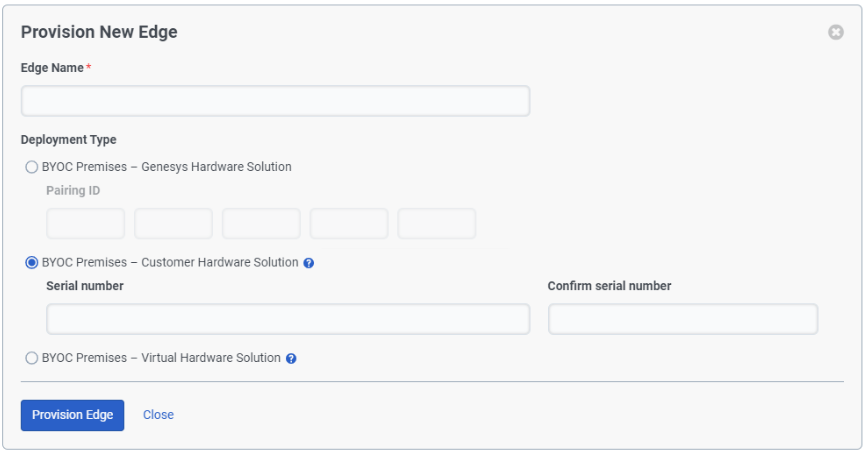
- Hacer clic Aprovisionar nueva ventaja.
- Sobre el Aprovisionar nueva ventaja pantalla, introduzca un nombre en la Nombre de borde caja.
- Hacer clic Instalaciones de BYOC: solución de hardware del cliente.
- Hacer clic Provisión de borde.
- En la pantalla Introduzca el PIN del dispositivo, tome nota del valor del campo PIN del dispositivo ya que lo necesitará más adelante.

Ahora que ha comenzado la operación de aprovisionamiento, la dejará ejecutándose y continuará con el siguiente paso.
Prepare su unidad flash USB
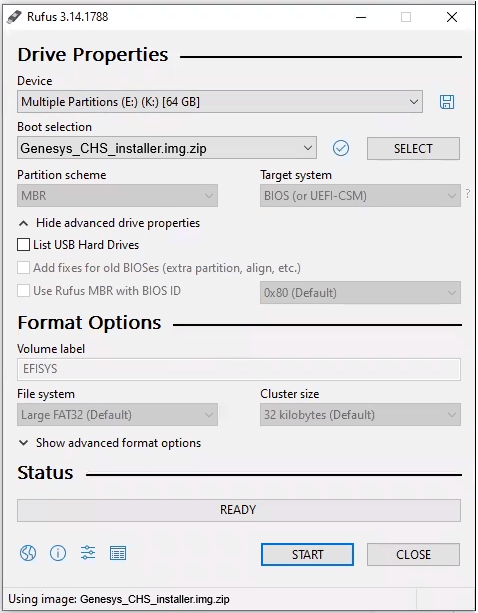
Para preparar tu memoria USB, descarga y utiliza una herramienta de código abierto llamada Rufus. Rufus reformatea tu unidad flash USB como dispositivo de arranque y luego copia el instalador en tu unidad flash USB.
- Descargue la herramienta Rufus.
- Inserta tu memoria USB en el puerto USB de tu ordenador.
- Localice y haga clic en el archivo ejecutable Rufus para ejecutar la herramienta.
- Seleccione su unidad flash USB de la Dispositivo lista.
- Seleccione el disco o la imagen ISO de la Selección de arranque lista.
- Hacer clic Seleccione y elija el archivo de imagen que descargó. Rufus rellena automáticamente los campos obligatorios.
- MBR o GPT Para el Esquema de partición.Nota: Rufus elige el valor para el esquema de partición según el formato actual de su unidad flash USB. Cualquiera de los dos esquemas de partición funciona.
- UEFI (no CSM) Para el Objetivo del sistema.
- Grande FAT32 (predeterminado) desde el Sistema de archivos lista.
- 32 kilobytes (predeterminado) Para el Tamaño de cluster.
- MBR o GPT Para el Esquema de partición.
- Hacer clic Comienzo y espere mientras Rufus prepara la unidad flash USB de instalación de la Solución de hardware del cliente de arranque.
- Cuando Rufus complete su operación, haga clic en Cerrar.
Conecte su borde a la red
Antes de poder realizar la verificación del hardware, primero debe conectar su edge a una red con acceso a Internet. Esta conexión debe realizarse al puerto WAN del borde.
Configure los ajustes del adaptador de red
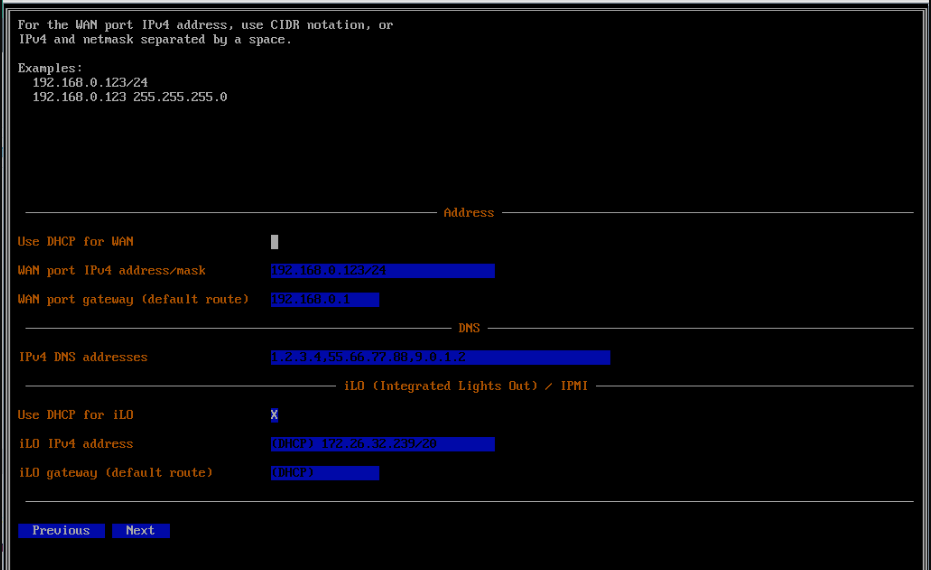
En esta parte del procedimiento, el instalador le pedirá que configure los ajustes de su adaptador de red,
- Haga clic en el Utilice DHCP para WAN cuadro, si va a utilizar direcciones DHCP.
- Ingrese una dirección en el Dirección IP caja. (Puede usar la notación CIDR).
- Ingrese una dirección en el Puerta de enlace del puerto WAN (ruta predeterminada) caja.
- Introduzca hasta dos direcciones en la casilla IPv4 DNS addresses.
- Hacer clic próximo.
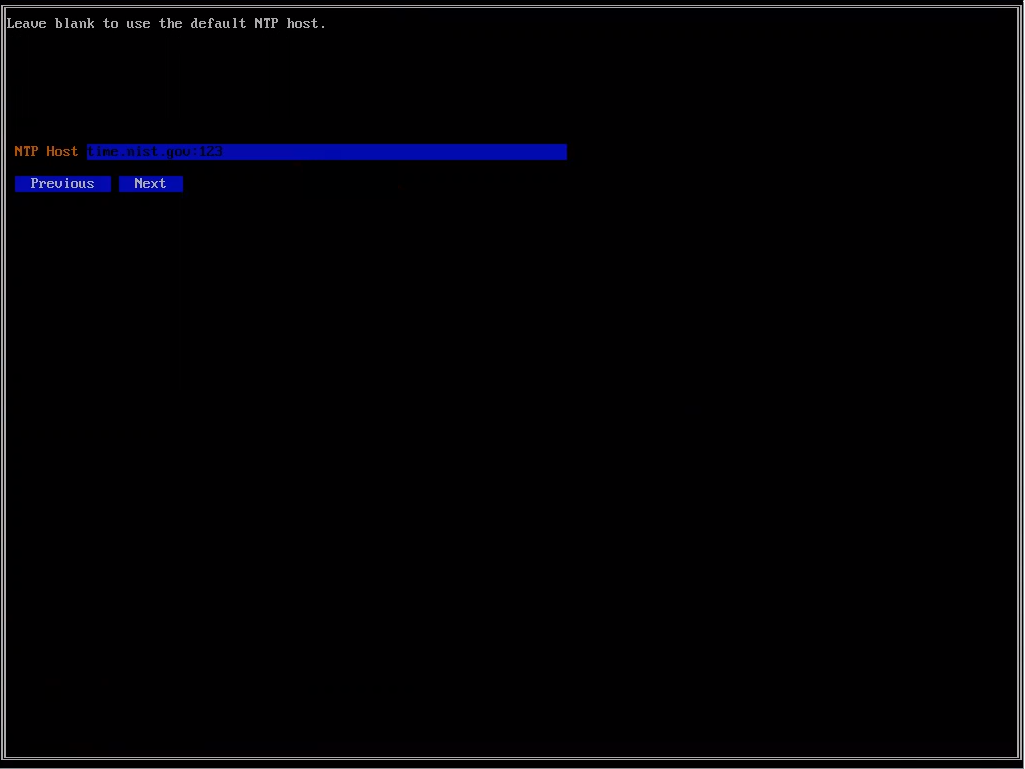
- Ingrese la dirección de su servidor NTP en el Host NTP o déjelo en blanco para utilizar el host NTP predeterminado.
- Hacer clic próximo.
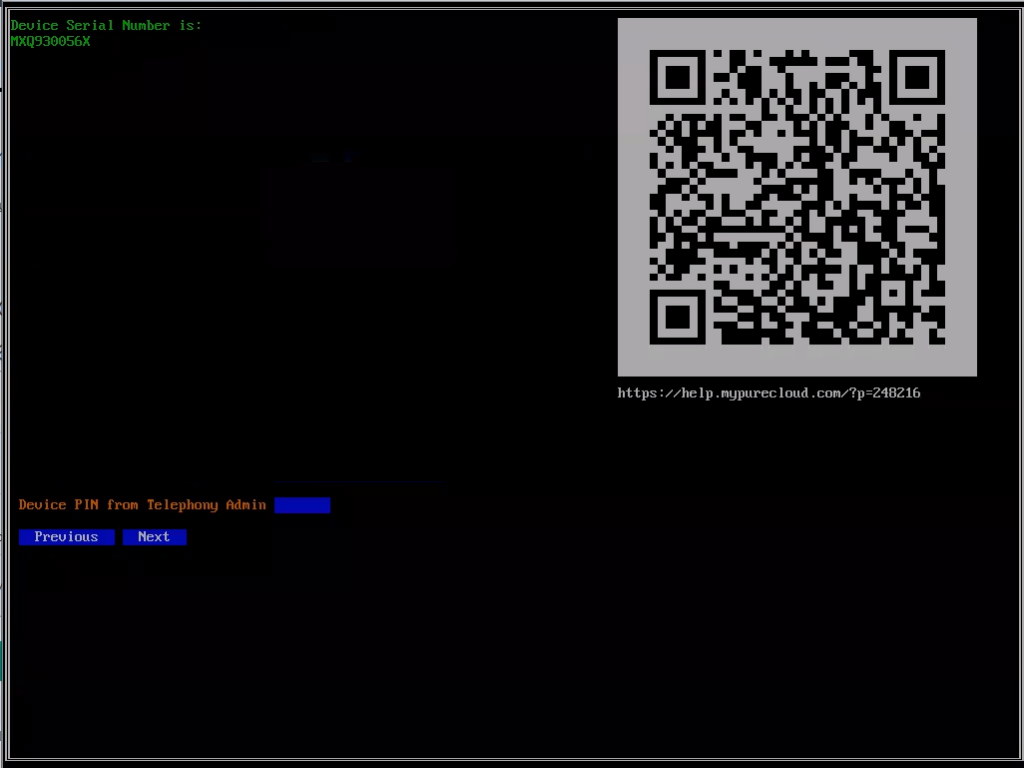
Introduzca el PIN
En esta parte del procedimiento, utilice el PIN del dispositivo que registró al iniciar el procedimiento de aprovisionamiento.
- Ingrese el PIN en el PIN del dispositivo del administrador de telefonía caja.
- Hacer clic próximo.
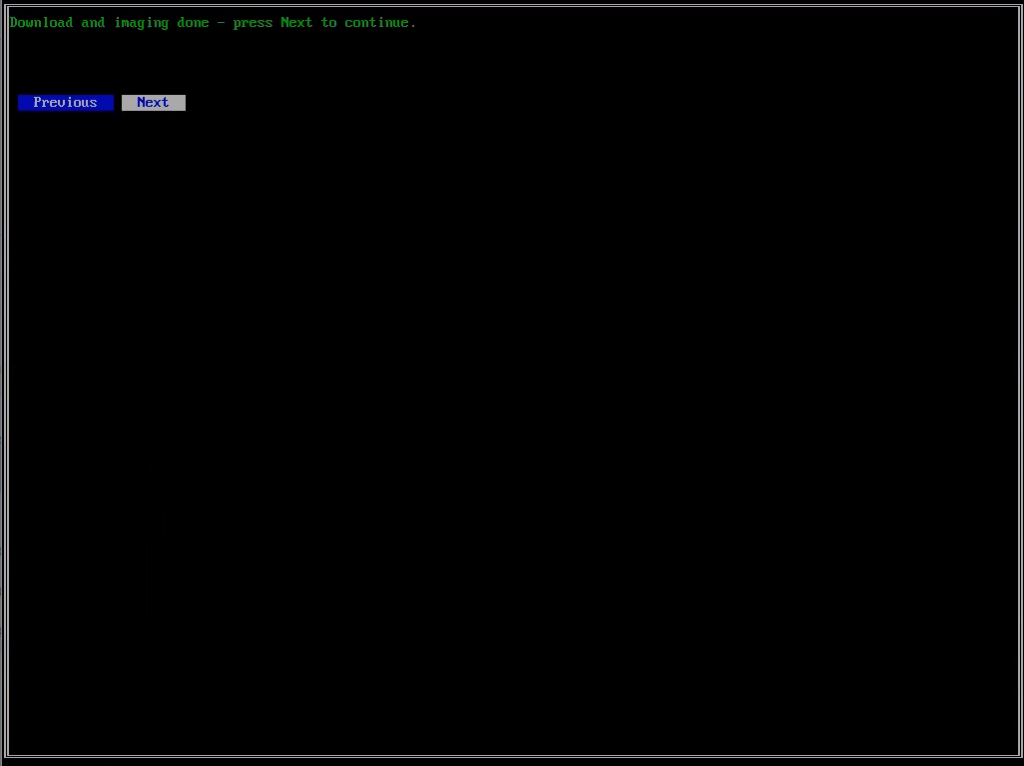
Descargar la imagen
En esta parte del procedimiento, el instalador descarga la imagen Edge real. La descarga puede tardar algún tiempo en completarse. Una vez finalizada la descarga, el instalador graba la imagen en el disco duro.
- Cuando veas el Listo para descargar e instalar mensaje, haga clic en próximo.
- Cuando el instalador complete el procedimiento de creación de imágenes, haga clic en Siguiente.

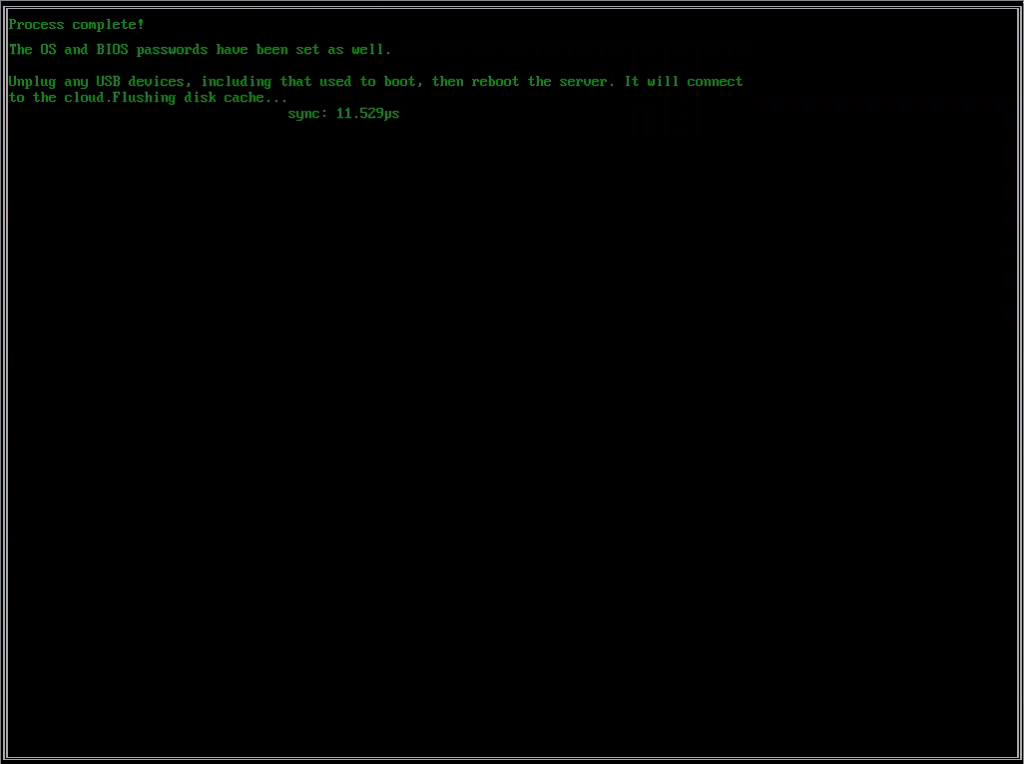
Proceso de instalación completo
Una vez finalizada la instalación, el instalador le pedirá que reinicie el Edge.
- Retire la unidad flash USB.
- Reinicia manualmente el Edge pulsando el botón de encendido.
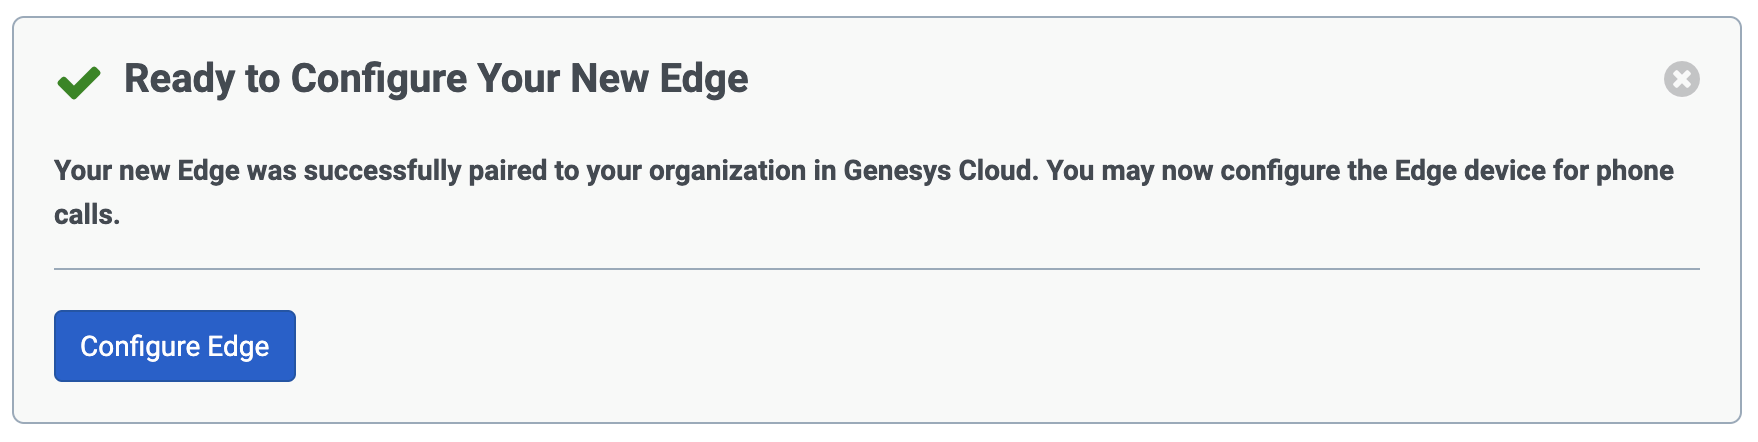
Termine el aprovisionamiento y configure su borde
En este punto, su Edge está emparejado con su organización de Genesys Cloud y usted vuelve a la interfaz de usuario de Genesys Cloud para configurar las conexiones de telefonía de su Edge.
- Cuando veas el Listo para configurar mensaje, haga clic en Configurar Edge.
Para configurar su nuevo edge para utilizarlo en su organización de Genesys Cloud, debe realizar una serie de operaciones de configuración.
- Crear un tronco SIP
- Crear una troncal de teléfono SIP
- Conecte una troncal existente a una interfaz de red Edge.
- Determine cuántos sitios necesita y agréguelos al sistema.
- Asocie Edge con un sitio y un grupo Edge. Conecte una troncal SIP externa.
- Agregue un plan numérico nuevo o modifique el predeterminado.
- Agregue una nueva o modifique la ruta de salida.
- Configurar los servicios de emergencia